
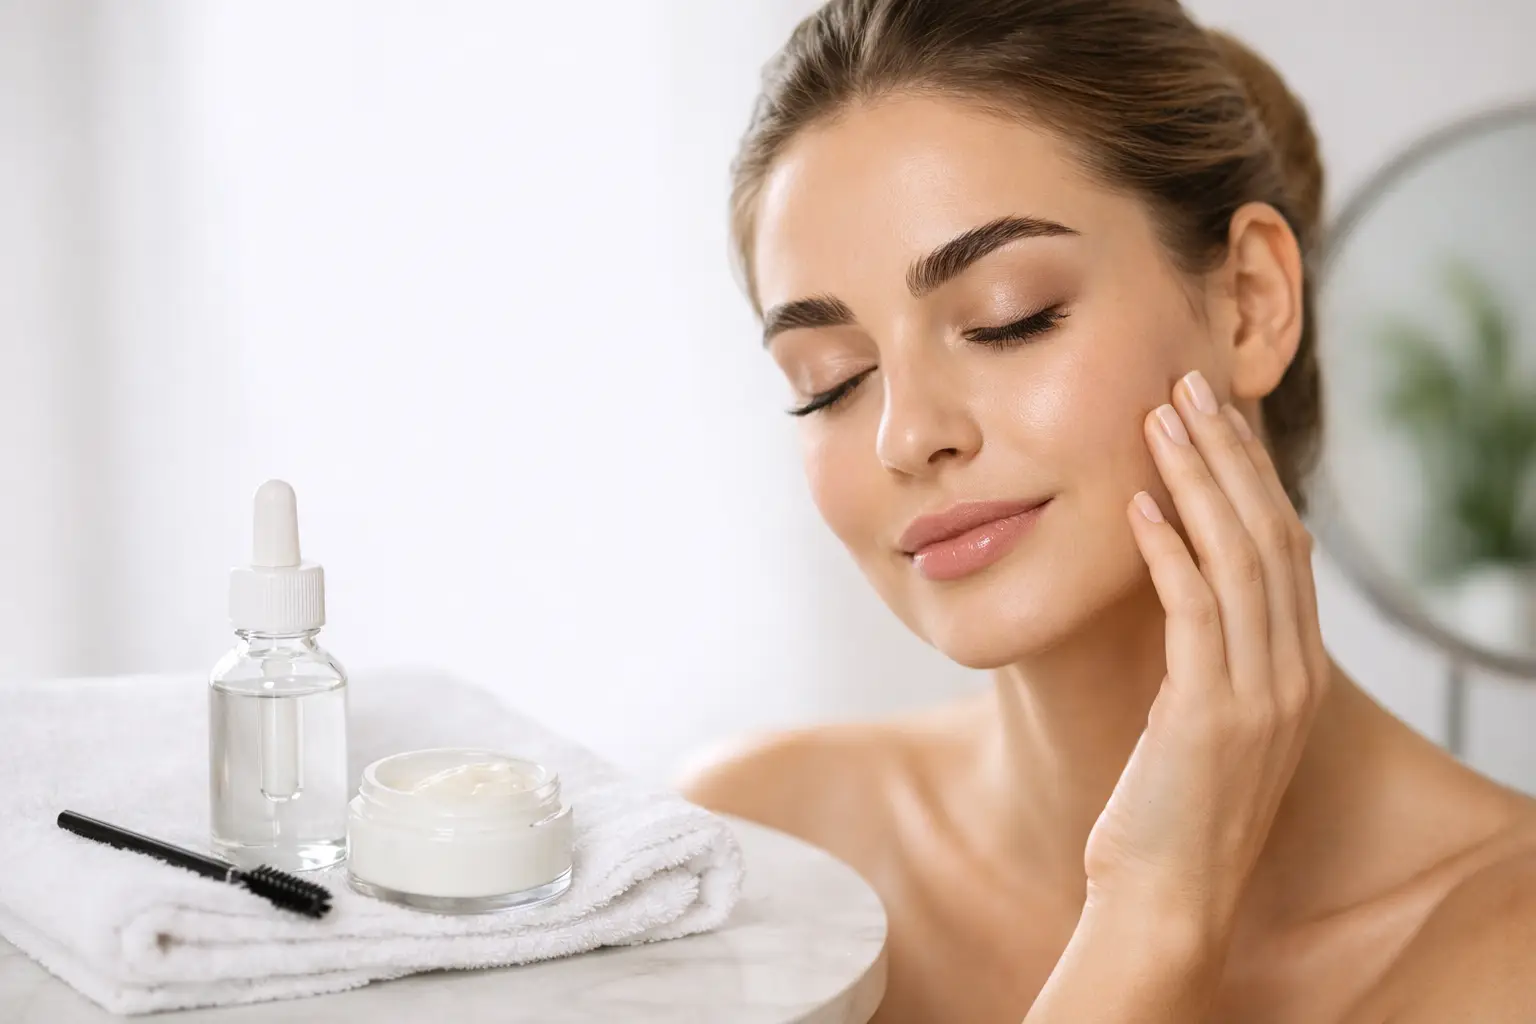
A fresh brow lamination gives you that polished, brushed-up look without filling in every sparse area each morning. But the first day matters. Following the right brow lamination aftercare instructions helps the brow hairs set in their new direction, keeps them conditioned, and protects the smooth, lifted finish you came in for.
At The Permanent Makeup Studio, we want your brows to look beautiful well beyond your appointment. Here is what to do, what to skip, and how to keep your results looking soft rather than stiff.
The first 24 hours: Let your brows set
For the first 24 hours after brow lamination, keep your brows completely dry. That means no washing your face around the brow area, steamy showers, swimming, sweat-heavy workouts, saunas, or hot yoga. Moisture and steam can interrupt the setting process before the hairs have had time to settle.
Try not to touch, rub, brush aggressively, or sleep face-down on your brows during this window. It can be tempting to keep checking the shape in the mirror, especially when you love the instant lift, but your brows need a little space to hold their new direction.
If you accidentally get them wet, gently blot the area with a clean tissue. Do not scrub or try to restyle them repeatedly. One small splash does not automatically ruin your treatment, but soaking them too soon can reduce the longevity of the lift.
What to avoid for 24 to 48 hours
Brow lamination works by softening the hair structure, guiding hairs into a flattering shape, then setting them. Your brows may look sleek immediately after treatment, but they are still more vulnerable to dryness and disruption in the first couple of days.
Avoid applying brow makeup, concealer, foundation, self-tanner, facial oils, retinol, exfoliating acids, or strong skincare directly on or close to the brows for at least 24 hours. If your regular routine includes glycolic acid, salicylic acid, tretinoin, or benzoyl peroxide, give the brow area extra room. These products can be drying and may affect the condition of the hairs.
Also postpone facials, chemical peels, microneedling, waxing, threading, and facial massage around the brow area for 48 hours unless your artist gives you different guidance. Heat, friction, and active ingredients are not ideal while your brows are freshly treated.
For Florida clients, the biggest aftercare challenge is often humidity and outdoor plans. A beach day, pool party, long walk in the heat, or intense workout can wait until the next day. Giving your brows one quiet day can make a visible difference in how polished they look afterward.
How to cleanse your face after brow lamination
Once the first 24 hours have passed, you can return to cleansing your face. Use a gentle cleanser and lukewarm water, then pat dry with a clean towel. Avoid scrubbing the brow area with a washcloth, cleansing brush, or exfoliating pad.
Oil-based cleansers and heavy balms are not always off-limits, but they can leave residue that weighs brow hairs down. If your brows tend to become oily, a light, gentle cleanser is usually the better choice. The goal is clean, comfortable skin without overworking the hairs.
When removing eye makeup, take care around the brow line. Press and lift rather than rubbing back and forth. This is especially helpful if you wear full glam makeup for events, work, or weekends out in Tampa Bay.
Can you shower after brow lamination?
Yes, after 24 hours. Keep the water comfortably warm rather than very hot, and avoid directing strong shower pressure straight at your brows. Steam is most concerning during the initial setting period, so save the long, hot shower for another day.
Condition your brows without overdoing it
After lamination, brow hairs benefit from hydration. Your artist may recommend a brow conditioning serum or nourishing treatment to support softness and shine. Begin only when instructed, usually after the initial 24-hour dry period.
Use a small amount. More product does not create better brows. Too much oil or conditioner can make hairs look separated, heavy, or greasy instead of airy and lifted. Apply it lightly with a clean spoolie, brushing in the direction your artist styled.
Not every brow needs the same amount of conditioning. Naturally coarse, dry, curly, or color-treated brow hairs may appreciate regular hydration. Fine or naturally oily brows may need less. If your brows begin to look flat, reduce the amount of product and focus on gentle brushing instead.
Styling laminated brows at home
One of the best parts of brow lamination is how little makeup it requires. In the morning, brush your brows upward and slightly outward using a clean spoolie. Follow the natural arch your artist created rather than forcing every hair straight up. A soft, feathery shape usually looks more luxurious and natural than an overly vertical brow.
You may use a clear brow gel after the first 24 hours if you want extra hold, but choose a flexible formula and remove it gently at night. If you use pencil or powder, fill only where you need definition. Lamination gives the appearance of fuller brows, so a lighter hand often creates the most refined result.
Do not trim your brows at home right after lamination. The lifted position can make longer hairs look more noticeable than they did before. Wait until you can assess your natural regrowth, or let your brow artist handle shaping at your next appointment.
How long does brow lamination last?
Most brow laminations last about six to eight weeks, though results vary with your hair growth cycle, skin type, home care, and hair texture. Coarse brows may relax a little sooner, while fine hairs may hold their lifted appearance longer.
Daily habits matter too. Frequent swimming, strong skincare, exfoliation around the brow line, and heavy rubbing can shorten the life of your results. That does not mean you need to avoid your normal routine for weeks. It simply means gentle care helps your investment last.
Timing is also personal. Rebooking too early can overprocess the brow hairs, especially if they are naturally dry or fragile. Your artist can recommend the right maintenance schedule based on how your brows respond and the look you want to maintain.
Signs your brows need a little extra care
A slight change in texture during the first few days can be normal, particularly if your brow hairs are naturally coarse. However, your brows should not feel brittle, overly frizzy, or uncomfortable. If they look dry, use the conditioning product recommended by your artist and avoid adding more chemical treatments at home.
Reach out to your artist if you notice prolonged redness, itching, swelling, burning, peeling skin, or significant hair breakage. Mild, short-lived skin sensitivity can happen, but persistent irritation deserves professional guidance. Do not apply random creams, acids, or essential oils to the area in an attempt to fix it.
Brow lamination aftercare instructions for tinted brows
If your appointment included a brow tint, the same first-day rules apply, with extra attention to cleansing and exfoliation. Avoid strong cleansers and rubbing the area, as both can fade tint faster. Sun exposure, chlorine, and oil-based products may also soften the color over time.
Tint typically fades before the lamination does, so it is normal for your brows to remain lifted even as the color becomes more subtle. A tint refresh can restore definition without changing the beautiful shape of your laminated brows.
Before your next appointment
Arrive with brows free of heavy makeup whenever possible, and tell your artist about any new skincare, prescriptions, or reactions you experienced after your last visit. If you started using retinoids, acne treatments, or exfoliating products, that information helps your artist customize your service safely.
Your brows should make getting ready feel easier, not create another complicated routine. Treat them gently for the first day, keep your skincare thoughtful around the area, and let the lift do what it was designed to do: give you effortless, confidence-boosting definition from your first coffee to your last photo of the day.