
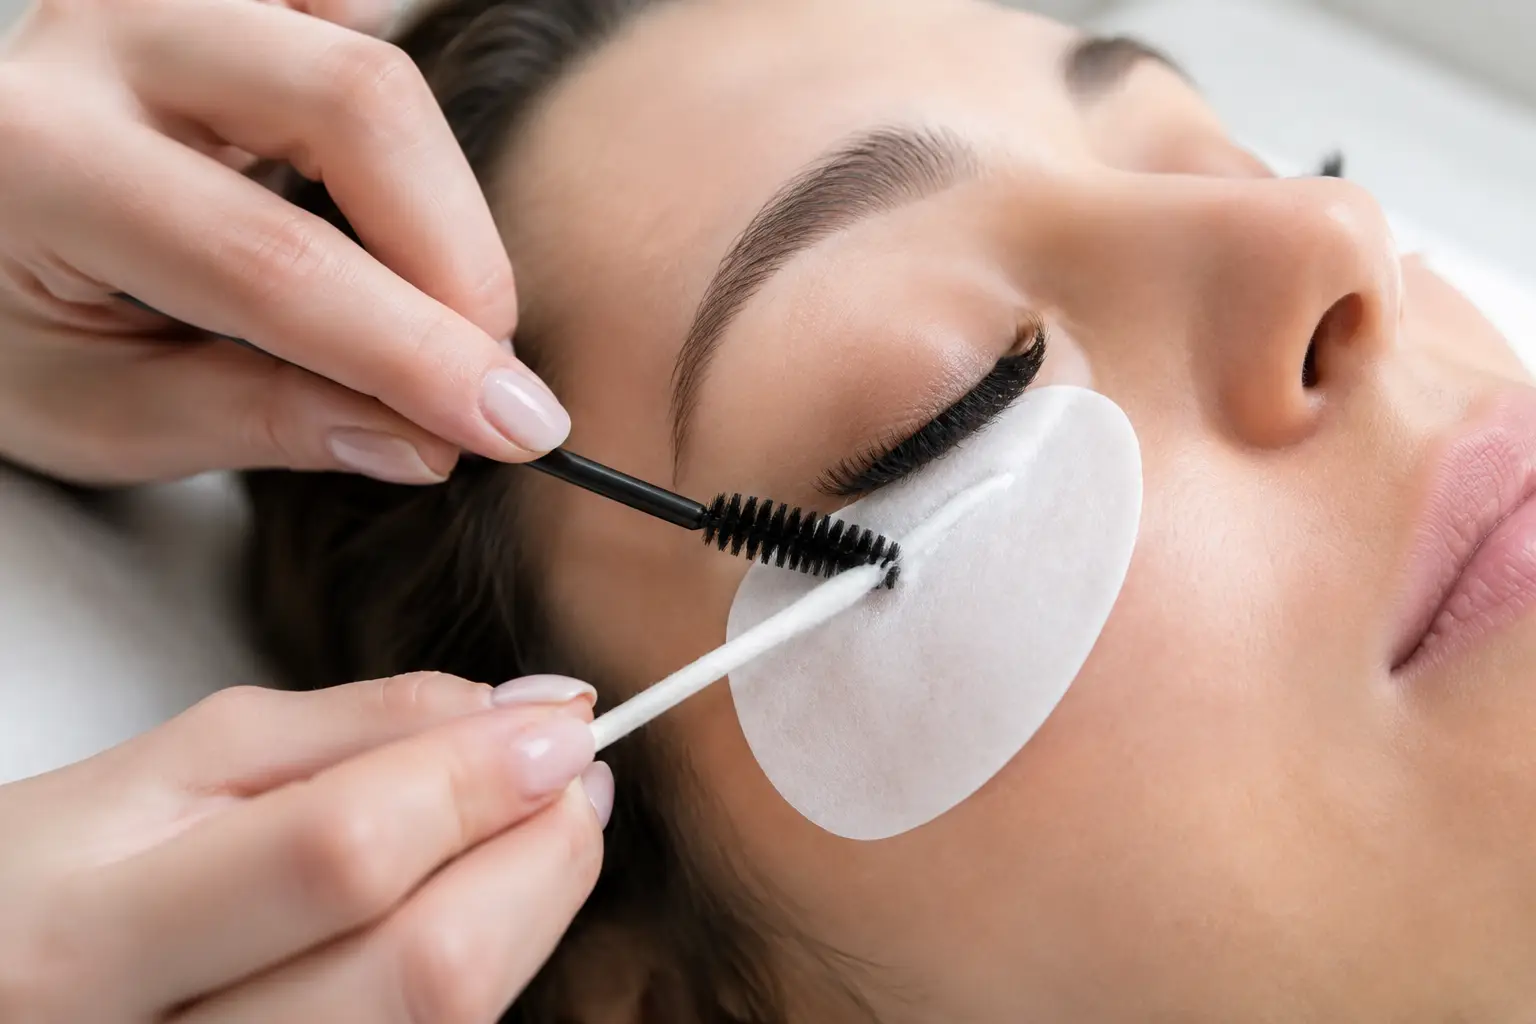
Florida humidity, sunscreen, workout sweat, and everyday makeup can build up at the lash line faster than you think. Knowing how to clean lash extensions correctly keeps your eyes feeling fresh, supports beautiful retention, and protects the polished, effortless look you chose in the first place. Clean lashes are not just a beauty detail. They are part of proper lash care.
The goal is simple: remove oil, debris, and bacteria without rubbing, tugging, or weakening the adhesive bonds. A gentle routine takes only a few minutes, yet it can make the difference between lashes that stay fluffy through your fill appointment and lashes that twist, shed early, or feel uncomfortable.
Why Clean Lash Extensions Matter
Extensions create a beautiful frame for the eyes, but the natural lash line still produces oils and collects daily buildup. Skipping cleansing can allow makeup residue, dead skin, sweat, and environmental debris to gather around the base of your extensions. That buildup may make lashes look clumpy or dull, and it can interfere with the clean, comfortable feel you want from a luxury lash service.
For clients in Clearwater and across Tampa Bay, heat and humidity add another layer to the equation. A beach day, a gym session, or a warm commute can leave perspiration and skincare residue around the eyes. Cleansing removes what does not belong there while helping your lash line stay fresh between fills.
There is a balance, though. Over-cleansing with harsh products or rubbing the lash line aggressively can create unnecessary shedding. Your extensions need gentle attention, not scrubbing. Think of the routine as skincare for your lash line: consistent, light-handed, and tailored to the products your artist recommends.
What to Use to Clean Lash Extensions
The best cleanser is one made specifically for lash extensions or a gentle, oil-free, extension-safe foaming cleanser. It should rinse cleanly and leave behind no oily film. Oil-based cleansers, cleansing balms, heavy eye creams, and some waterproof makeup removers can affect lash adhesive over time, especially when they are repeatedly worked into the lash line.
Keep your tools simple. You will need an extension-safe cleanser, clean water, a soft lash cleansing brush or a small fluffy makeup brush reserved only for this purpose, a lint-free towel or clean paper towel, and a clean spoolie. Cotton pads and cotton swabs can leave fibers caught in the extensions, so they are not the best choice for daily lash care.
If your artist has provided an aftercare kit, use it. Lash adhesives, styling choices, and your own skin type can influence the ideal routine. Someone who wears eye makeup most days may need a more thorough evening cleanse than someone who wears no makeup and has dry skin. Personalized aftercare always comes first.
How to Clean Lash Extensions Step by Step
Start with clean hands
Wash your hands before touching your face or lashes. This small step matters because fingers transfer skincare, natural oils, and bacteria directly to the eye area. Avoid applying hand lotion immediately before cleansing your lashes.
Apply cleanser gently
Wet the lash line with lukewarm water, not hot water. Dispense a small amount of lash cleanser onto your cleansing brush or directly onto your closed eyelid, depending on the product instructions. With your eye closed, use soft downward and outward motions along the lash line.
Do not scrub back and forth or press the extensions into the lid. Your goal is to cleanse the base where buildup collects, not to rough up the lashes themselves. Be especially gentle at the inner and outer corners, where extensions can become tangled if handled too firmly.
Rinse completely
Rinse the cleanser away with lukewarm water. A clean rinse is essential because leftover cleanser can leave a residue or cause irritation. Let the water flow softly over the eye area rather than blasting your lashes with a high-pressure shower stream.
If you are cleansing at the sink, cupping water over closed eyes works well. In the shower, keep the spray indirect and avoid standing with your face directly under the water.
Pat dry, then brush
Gently blot around the eyes with a lint-free towel or clean paper towel. Never rub your lashes dry. Once they are mostly dry, use a clean spoolie to brush through the extensions from the middle to the tips, using light upward strokes.
Brushing helps separate lashes and keeps your set looking soft and intentional. If you notice a lash that has twisted or crossed over another extension, resist the temptation to pull it free. A lash artist can safely assess and correct it at your next appointment.
How Often Should You Clean Lash Extensions?
Most clients benefit from cleansing lash extensions once a day, usually in the evening. This removes the day’s sweat, skincare, makeup, and airborne debris before you sleep. If you wear eye makeup, exercise heavily, swim, or spend a long day outdoors, cleanse as soon as it is practical afterward.
A morning rinse may also feel refreshing, particularly after a humid night or if you use rich nighttime skincare. Still, there is no need to overdo it with multiple deep cleanses each day unless your artist has advised it. Gentle consistency is more valuable than constant washing.
For newly applied extensions, follow your artist’s timing instructions. Modern adhesives and application methods vary, and your technician will tell you when it is appropriate to get the lash line wet and begin regular cleansing. If instructions differ from general advice you have seen online, trust the professional who performed your service.
Products and Habits That Can Shorten Retention
A beautiful lash set lasts best when daily products support it. You do not have to give up every skincare favorite, but you may need to adjust where and how you apply certain formulas. Keep creamy moisturizers, facial oils, sunscreen, and eye makeup removers away from the lash base whenever possible.
Be cautious with waterproof mascara and eyeliner. Waterproof formulas are designed to stay put, which means they often require oil-based removal or extra rubbing. If you want added definition, ask your lash artist which extension-safe liner or makeup options suit your set.
Avoid picking at a loose extension, sleeping face-down whenever possible, and using a mechanical eyelash curler. Heat tools near the eyes are also not a great match for extensions. These habits can bend, crack, or pull lashes before their natural shedding cycle is complete.
One more practical tip: wash your pillowcase regularly. Skincare, hair products, and natural oils transfer to fabric, then back to the face while you sleep. A clean silk or satin pillowcase can be a lovely option for reducing friction, but cleanliness matters more than the material.
When Your Lashes Need Professional Attention
Normal shedding is expected because natural lashes cycle every day. You may occasionally see an extension attached to a natural lash that has shed, and that is completely normal. What is not normal is persistent redness, swelling, burning, itching, pain, or thick crusting around the lash line.
If you experience discomfort, stop using new products around the eyes and contact your lash artist or a medical professional as appropriate. Do not try to remove the extensions yourself with oil, steam, tweezers, or at-home adhesive removers. Professional removal protects your natural lashes and your delicate eye area.
If your lashes look sparse, are growing out, or no longer feel balanced, schedule a fill rather than waiting until the set has fully shed. Regular fills keep your look refined and allow your artist to remove grown-out extensions, cleanse the lash line professionally, and customize the shape for your current style.
At The Permanent Makeup Studio, beautiful lashes are meant to feel as effortless as they look. Give them a few calm minutes of care each day, and your next fill can begin with a clean, comfortable canvas ready for fresh, confidence-boosting detail.