
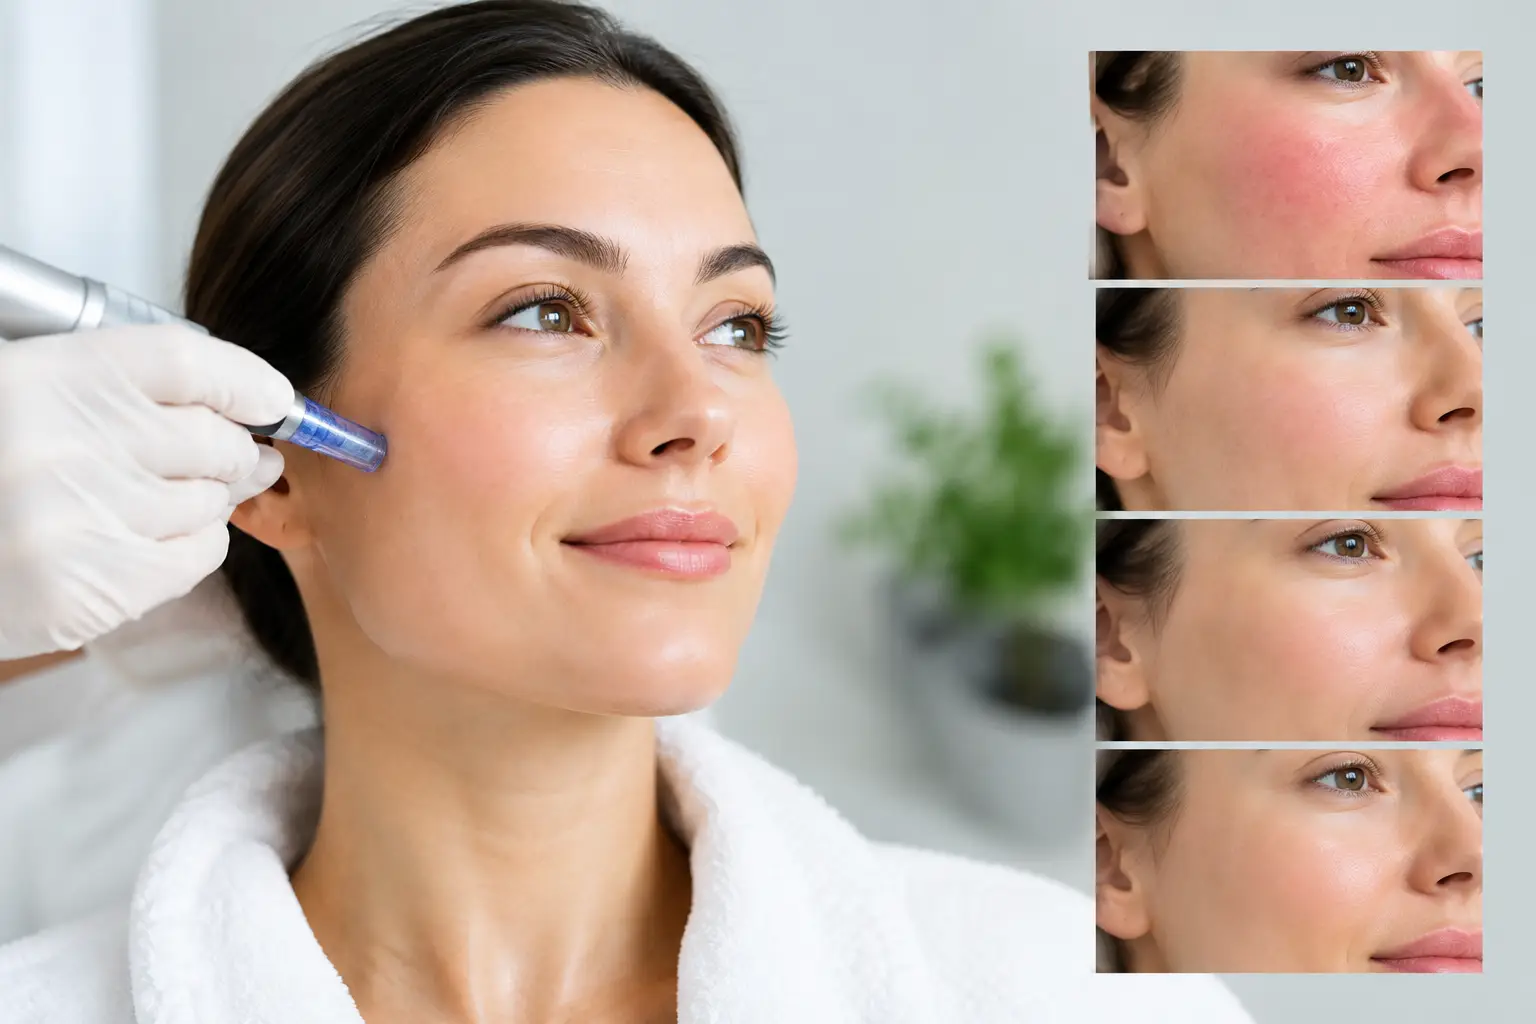
A fresh, luminous complexion is the goal, but your skin deserves a little quiet time before it gets there. A typical microneedling downtime timeline is short and manageable, especially compared with more intensive resurfacing treatments, yet the first few days still matter. Planning your appointment around a beach day, wedding, photoshoot, or big night out helps you protect your results and feel confident through every stage of healing.
Microneedling creates controlled microchannels in the skin to support its natural renewal process. That can mean temporary redness, warmth, dryness, and light flaking as your complexion settles. Every client heals differently, and treatment depth, skin sensitivity, the areas treated, and your at-home aftercare all shape what your recovery looks like.
Your Microneedling Downtime Timeline, Day by Day
Treatment day: Redness and warmth
Right after your appointment, skin commonly looks pink to red, similar to a moderate sunburn. You may also feel warmth, tightness, or mild sensitivity. For some clients, this is most noticeable across the cheeks and nose, while others experience a more even, flushed appearance.
This is not the day for makeup, a workout class, steam room, hot shower, or a Florida afternoon in direct sun. Your skin is freshly treated and needs a clean, calm environment. Use only the products your provider has approved, keep your hands away from your face, and resist the urge to inspect every little change in the mirror.
If you are scheduling around an event, give yourself more than one night of recovery. Although some redness may fade quickly, treatment-day skin is not usually camera-ready.
The first 24 hours: Calm, clean, and protected
By the next morning, redness often begins to soften, though skin can still look rosy and feel dry or tight. Some clients notice slight puffiness, particularly around delicate areas. This usually improves quickly.
Gentle aftercare is the priority. Follow the cleansing instructions given by your provider and use a simple, hydrating product only if it has been recommended for your treatment plan. Avoid active skincare ingredients, including retinoids, exfoliating acids, scrubs, and strong vitamin C formulas. These products can be wonderful at the right time, but freshly microneedled skin is not the moment to test them.
Sun protection is equally essential. If your provider advises sunscreen after the initial recovery window, choose the recommended formula and wear a hat when you are outside. Clearwater sunshine, humidity, and heat can make fresh skin feel more reactive, so shade is part of your aftercare plan.
Days 2 and 3: Pinkness fades, dryness may appear
This is when many clients feel ready to return to normal daily life. Redness is often lighter, more like a pink glow than a true sunburn. Depending on your skin and the intensity of treatment, you may see dryness, rough texture, or very light flaking.
The temptation at this stage is to exfoliate the texture away. Do not. Picking, scrubbing, or using an exfoliating cleanser can interrupt the recovery process and leave skin more irritated. Let any dryness shed naturally while you continue gentle hydration and provider-approved skincare.
You may be able to wear makeup after the timeframe your provider gives you, but clean brushes and sponges are non-negotiable. If you can go makeup-free for another day, your skin may appreciate it. For clients who need a polished appearance for work, a lightweight, non-irritating complexion product is usually a better choice than heavy, full-coverage makeup.
Days 4 and 5: The skin begins to look refreshed
By days four and five, most visible redness and sensitivity have settled. Any light flaking should be improving, and your complexion may start to feel smoother. This is the point where many clients notice the immediate post-treatment glow becoming more even rather than simply flushed.
You can usually resume more of your routine, but do not rush back into every active product at once. The right timing depends on your skin, the depth of your treatment, and your provider’s instructions. If you have a history of sensitivity, acne inflammation, rosacea, or post-inflammatory discoloration, a slower return to actives may be the more comfortable choice.
Days 6 and 7: Back to your usual rhythm
For most people, one week marks the end of noticeable microneedling downtime. Skin should look calm, makeup should apply more smoothly, and normal social plans are generally comfortable again. The deeper skin renewal process continues beyond this first week, which is why your provider may recommend a series of treatments spaced appropriately apart.
Do not judge your final result too soon. Fresh skin can look beautifully radiant within days, but changes in texture, tone, and the appearance of fine lines develop gradually. Consistent professional treatments and thoughtful home care create the best long-term approach.
What Can Make Microneedling Downtime Longer?
There is no single recovery schedule that fits every face. A gentle treatment focused on overall glow may have less visible downtime than a more intensive session designed to address textural concerns. Sensitive skin can stay pink longer, and areas such as the cheeks may show redness more readily than others.
Your lifestyle also matters. Hot yoga, intense cardio, swimming, tanning, alcohol, and time in the sun can increase heat, sweat, and irritation when skin is freshly treated. In the Tampa Bay area, that means planning carefully around pool days, boat days, outdoor festivals, and beach weekends. A little calendar strategy can make your recovery feel effortless rather than inconvenient.
Certain medications, active breakouts, skin conditions, and recent cosmetic procedures may affect whether microneedling is appropriate or when it should be scheduled. Be fully open during your consultation about your skincare routine, medical history, allergies, and any treatments you have had recently. Luxury results begin with a personalized plan, not a one-size-fits-all appointment.
How to Plan for the First Week
For most clients, scheduling microneedling three to five days before a casual social plan is reasonable. For a wedding, professional photos, vacation, or another can’t-miss event, allow at least one to two weeks. That extra buffer accounts for individual redness, dryness, and the possibility that your skin simply needs more time to look its absolute best.
Prepare your space before your appointment. Have clean pillowcases, a gentle cleanser, and any approved recovery products ready at home. Keep your workout, tanning, and beach plans light for the first couple of days. This is a small investment for skin that gets the chance to recover beautifully.
When to Contact Your Provider
Mild redness, warmth, tightness, and light flaking are expected parts of recovery. However, increasing pain, significant swelling, blistering, a rash, oozing, or redness that worsens rather than improves should be reported to your provider promptly. If you develop signs of an allergic reaction or infection, seek medical care.
At The Permanent Makeup Studio, microneedling is approached with the same attention to detail as every beauty service: personalized care, clear expectations, and aftercare that supports your confidence. Your provider should always be your first resource for instructions specific to your skin and treatment.
The best time to book is not necessarily the day before your biggest event. Give your skin the grace of a few calm days, follow your aftercare closely, and let that fresh, refined glow arrive on its own schedule.